Kneip bread
A rustic Norwegian favourite, Kneip bread is a wholesome, everyday loaf with a slightly dense texture and a mild, nutty flavour. Perfect for open sandwiches or served warm with butter, it's a versatile and satisfying staple. Easy to bake, even easier to enjoy!

1. BOIL OR SOAK THE RYE BERRIES
If boiling: Pour the rye berries, in a saucepan and cover with water and bring to a boil. Boil the rye berries for 20 min, then remove them from the heat and drain them, and let them cool before adding them to the dough.
If soaking: Place the rye berries into a small bowl, and then pour 200ml of boiling water over them. Cover the bowl using plastic wrap or a small plate, and allow it to sit on the kitchen counter for a duration of 8 hours. This soaking process is intended to render the rye berries softer and more easily digestible, enhancing both their texture and digestibility.

2.MIX THE INGREDIENTS
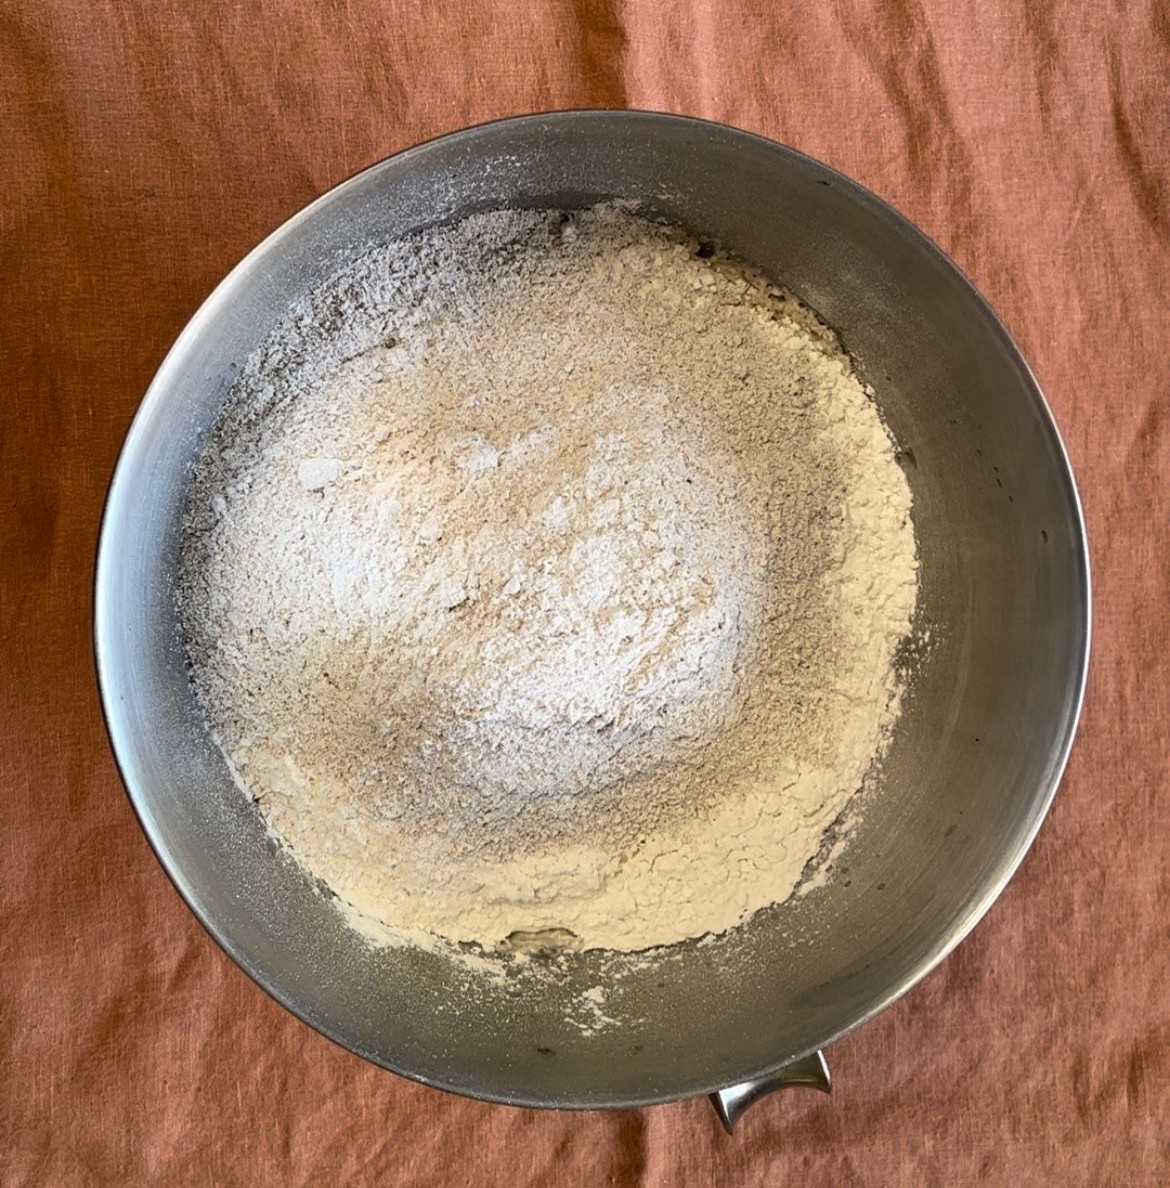
Begin by heating up 550ml of water to lukewarm and dissolve the yeast in the water. The water needs to be lukewarm to activate the yeast. Next, incorporate the cooled soaked rye berries and blend in the flour with the liquid. Add 26g of oil to create a cohesive dough. If the dough proves excessively sticky, gradually introduce some flour while working with it.

3. KNEAD THE DOUGH
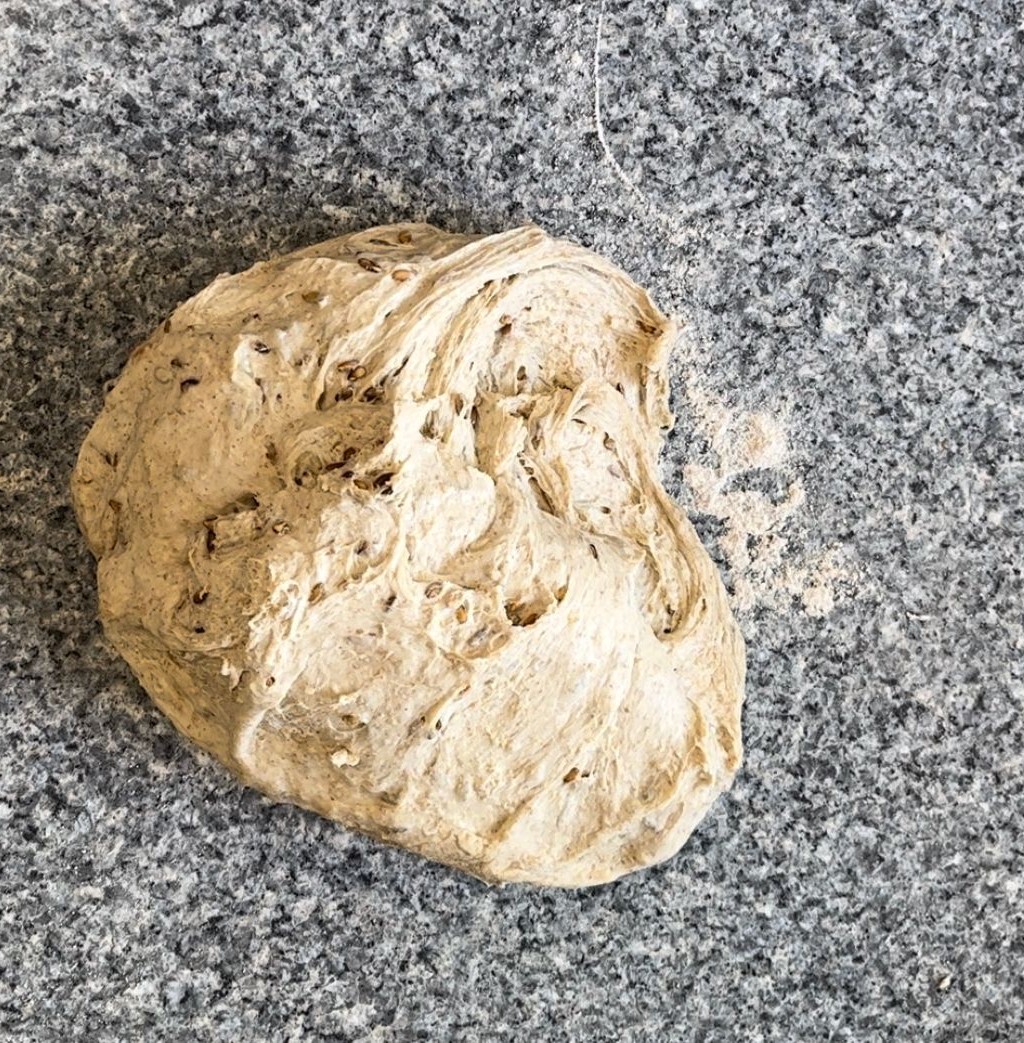
If using a bench mixer, knead the dough for 3 minutes at a low speed, followed by a higher speed for 6 minutes. If opting for hand kneading, work the dough for a duration of 10 minutes. To ascertain that the dough has attained the desired consistency and that the gluten strands have been appropriately developed, perform a gluten test. Extract a small portion of the dough and gently stretch it. The dough should show elasticity, and be able to be stretched thin. It should withstand poking and pulling without breaking. If the dough breaks straight away, it means it needs some further development. Return the dough to the mixer and allow it to run for an additional minute to enhance gluten formation. Shape the dough into a round ball, place it back in the bowl, and cover it with a clean tea towel. Allow it to rest for 30 minutes.
4. DIVDE DOUGH IN TWO
Pour a small amount of flour from bag h onto the kitchen bench and place the dough on it. Divide the dough into two parts to create two loaves. Achieve this by rolling each half of the dough into a ball, then gently flatten it using the palm of your hand. Fold one half towards the center, followed by folding over the other half. If necessary, roll them slightly to ensure they match the length of the loaf pan. Apply a light coating of oil to the loaf pans, then position the shaped loaves within them. In the absence of loaf pans, you can alternatively place the loaves on an oven tray lined with parchment paper. This guarantees that they maintain their desired shape during the baking process.
5. LET THE LOAVES REST & RISE
Brush the loaves lightly with water and gently dip them into the rye flour from bag h. Cover them with a tea towel and let them rise for approximately 1 to 1.5 hours, or until they have nearly doubled in size. Meanwhile, preheat the oven to 250°C and place an oven tray at the base of the oven in preparation.
6. SCORE THE BREAD
With a sharp knife, create a lengthwise cut along the center of each loaf. Next, make three diagonal cuts on each side of the central cut. The reason we score the bread is to manage the dough's rapid expansion as it enters the oven, a phenomenon referred to as "oven spring." Scoring helps regulate this expansion and ensures optimal baking results.
7. CREATE A GREAT BAKING ENVIROMENT
Take 50ml of water and carefully pour it onto the oven tray that you positioned at the bottom of the oven before placing the loaves inside. This is to create some steam that will help your loaves to rise in the oven. Proceed to bake the loaves in the center of the oven for a duration of 20 to 25 minutes.
8. IS THE BREAD DONE?
The loaves should reach an internal temperature of 98°C when they are fully baked. In case you lack a thermometer to gauge the bread's inner temperature, a simple alternative is to gently tap the bottom of the loaves. If they emit a hollow sound, it indicates they are ready. Once the loaves have completed baking, allow them to cool on a designated cooling rack before proceeding to cut them. Now, savor the delight of your freshly baked bread!


